Drupal é um sistema de gerenciamento de conteúdo (CMS) Open Source semelhante ao WordPress usado por milhões de pessoas e organizações em todo o mundo para criar e manter seus sites.
Possui ótimos recursos padrão, como fácil criação de conteúdo, desempenho confiável e excelente segurança.
Mas o que o diferencia no Drupal é sua flexibilidade; a modularidade é um dos seus princípios fundamentais.
Suas ferramentas ajudam você a criar o conteúdo versátil e estruturado de que as experiências dinâmicas da web precisam.
Neste artigo, vamos aprender passo a passo como instalar o Drupal no Ubuntu 22.04 em poucos minutos.
1. Atualize o sistema
Após instalar o sistema Ubuntu 22.04 em seu servidor (neste artigo usamos a Digital Ocean), atualize o sistema com os comandos abaixo:
apt update -y

apt upgrade -y
2. Instale o banco de dados com MariaDB
Em seguida é instalar MariaDB ou MySQL. Eu estarei usando MariaDB para este processo. Então vamos instalar o MariaDB com o seguinte comando:
apt install -y mariadb-server mariadb-clientProteja seu servidor de banco de dados definindo uma senha root, desabilitando logins remotos root e removendo bancos de dados de teste.
mysql_secure_installationVocê deve ver a seguinte saída:
root@crown:~# sudo mysql_secure_installation

NOTE: RUNNING ALL PARTS OF THIS SCRIPT IS RECOMMENDED FOR ALL MariaDB
      SERVERS IN PRODUCTION USE!  PLEASE READ EACH STEP CAREFULLY!

To log into MariaDB to secure it, we'll need the current
password for the root user.  If you've just installed MariaDB, and
you haven't set the root password yet, the password will be blank,
so you should just press enter here.

Enter current password for root (enter for none):
OK, successfully used password, moving on...

Setting the root password ensures that nobody can log into the MariaDB
root user without the proper authorisation.

You already have a root password set, so you can safely answer 'n'.

Change the root password? [Y/n] y
New password:
Re-enter new password:
Password updated successfully!
Reloading privilege tables..
 ... Success!

By default, a MariaDB installation has an anonymous user, allowing anyone
to log into MariaDB without having to have a user account created for
them.  This is intended only for testing, and to make the installation
go a bit smoother.  You should remove them before moving into a
production environment.

Remove anonymous users? [Y/n] Y
 ... Success!

Normally, root should only be allowed to connect from 'localhost'.  This
ensures that someone cannot guess at the root password from the network.

Disallow root login remotely? [Y/n] Y
 ... Success!

By default, MariaDB comes with a database named 'test' that anyone can
access.  This is also intended only for testing, and should be removed
before moving into a production environment.

Remove test database and access to it? [Y/n] y
 - Dropping test database...
 ... Success!
 - Removing privileges on test database...
 ... Success!

Reloading the privilege tables will ensure that all changes made so far
will take effect immediately.

Reload privilege tables now? [Y/n] y
 ... Success!

Cleaning up...

All done!  If you've completed all of the above steps, your MariaDB
installation should now be secure.

Thanks for using MariaDB!
Verifique se você pode efetuar login no banco de dados como um usuário raiz com uma senha definida.
mysql -u root -p
Agora que podemos fazer login como usuários regulares, podemos criar um banco de dados Drupal que o Drupal pode usar depois de instalá-lo em nosso sistema. Para criar um usando o seguinte comando.
3. Crie banco de dados para Drupal
Use os comandos abaixo:
mysql -u root -p
CREATE DATABASE drupal;
CREATE USER 'drupal_user'@'localhost' IDENTIFIED BY 'password';
GRANT ALL PRIVILEGES ON drupal.* to drupal_user@'localhost';
FLUSH PRIVILEGES;
\q
Você deve ver a seguinte saída:
root@crown:~#  mysql -u root -p
Enter password:
Welcome to the MariaDB monitor.  Commands end with ; or \g.
Your MariaDB connection id is 128
Server version: 10.6.7-MariaDB-2ubuntu1 Ubuntu 22.04

Copyright (c) 2000, 2018, Oracle, MariaDB Corporation Ab and others.

Type 'help;' or '\h' for help. Type '\c' to clear the current input statement.

MariaDB [(none)]> CREATE DATABASE drupal;
Query OK, 1 row affected (0.001 sec)
MariaDB [(none)]> GRANT ALL PRIVILEGES ON drupal.* TO ‘drupal’@’localhost’ IDENTIFIED BY "StrongPassword";
Query OK, 0 rows affected (0.000 sec)

MariaDB [(none)]> FLUSH PRIVILEGES;
Query OK, 0 rows affected (0.000 sec)

MariaDB [(none)]> \q
Bye
4. Instale o PHP
Por padrão, o Ubuntu 22.04 vem com o PHP versão 8.1. Instalaremos o PHP e outros módulos necessários para executar o Drupal.
apt install php php-{cli,fpm,json,common,mysql,zip,gd,intl,mbstring,curl,xml,pear,tidy,soap,bcmath,xmlrpc}
Saída:
root@crown:~# apt install php php-{cli,fpm,json,common,mysql,zip,gd,intl,mbstrin                                                                          g,curl,xml,pear,tidy,soap,bcmath,xmlrpc}
Reading package lists... Done
Building dependency tree... Done
Reading state information... Done
php is already the newest version (2:8.1+92ubuntu1).
php-cli is already the newest version (2:8.1+92ubuntu1).
php-common is already the newest version (2:92ubuntu1).
php-curl is already the newest version (2:8.1+92ubuntu1).
php-gd is already the newest version (2:8.1+92ubuntu1).
php-json is already the newest version (2:8.1+92ubuntu1).
php-mysql is already the newest version (2:8.1+92ubuntu1).
php-pear is already the newest version (1:1.10.12+submodules+notgz+20210212-1ubu                                                                          ntu3).
php-tidy is already the newest version (2:8.1+92ubuntu1).
php-xml is already the newest version (2:8.1+92ubuntu1).
php-bcmath is already the newest version (2:8.1+92ubuntu1).
php-fpm is already the newest version (2:8.1+92ubuntu1).
php-intl is already the newest version (2:8.1+92ubuntu1).
php-mbstring is already the newest version (2:8.1+92ubuntu1).
php-soap is already the newest version (2:8.1+92ubuntu1).
php-xmlrpc is already the newest version (3:1.0.0~rc3-2).
php-zip is already the newest version (2:8.1+92ubuntu1).
5. Instale o Servidor Web Apache
Quanto ao servidor Web, usaremos o Apache, pois é fácil de configurar e usar. Para instalar execute os comandos abaixo
apt install apache2 libapache2-mod-php
Saída:
root@crown:~# apt install apache2 libapache2-mod-php
Reading package lists... Done
Building dependency tree... Done
Reading state information... Done
apache2 is already the newest version (2.4.52-1ubuntu4).
libapache2-mod-php is already the newest version (2:8.1+92ubuntu1).
0 upgraded, 0 newly installed, 0 to remove, and 9 not upgraded.
Atualize o fuso horário e o limite de memória do PHP.
nano /etc/php/*/apache2/php.ini
memory_limit = 256
date.timezone = UTC
Baixe a versão mais recente do Drupal e extraia-a no Ubuntu 22.04.
wget https://www.drupal.org/download-latest/tar.gz -O drupal.tar.gz
tar xvf drupal.tar.gz
mv drupal-*/  /var/www/html/drupal
Atualize a propriedade de um diretório drupal para usuário e grupo do Apache.
chown -R www-data:www-data /var/www/html/
chmod -R 755 /var/www/html/
Configurar Apache Web Server para Drupal
Crie um arquivo de configuração para Drupal.
nano /etc/apache2/sites-available/drupal.conf
Adicione o seguinte conteúdo (Substitua example.com pelo seu nome de domínio)
<VirtualHost *:80>
     ServerName mysite.com
     ServerAdmin admin@example.com
     DocumentRoot /var/www/html/drupal/

     CustomLog ${APACHE_LOG_DIR}/access.log combined
     ErrorLog ${APACHE_LOG_DIR}/error.log

      <Directory /var/www/html/drupal>
            Options Indexes FollowSymLinks
            AllowOverride All
            Require all granted
            RewriteEngine on
            RewriteBase /
            RewriteCond %{REQUEST_FILENAME} !-f
            RewriteCond %{REQUEST_FILENAME} !-d
            RewriteRule ^(.*)$ index.php?q=$1 [L,QSA]
   </Directory>
</VirtualHost>
Configure e ative o site usando os comandos abaixo,
apachectl -t
 a2dismod mpm_event
 a2enmod mpm_prefork
 a2enmod php8.1
 a2enmod rewrite
 a2ensite drupal.conf
systemctl restart apache2
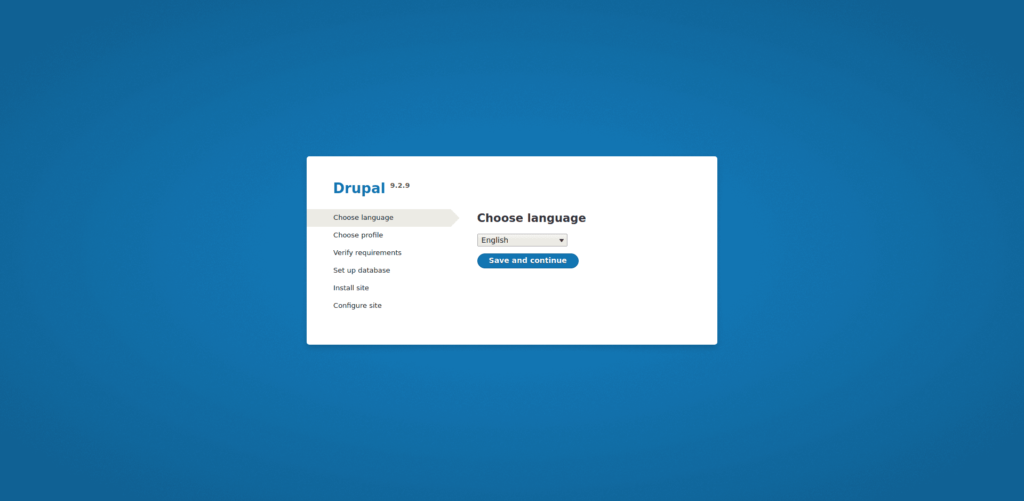
Verifique e instale o Drupal no Ubuntu a partir do navegador.
Acesse a página de configuração do Drupal usando http://example.com (Substitua example.com pelo seu domínio real.)
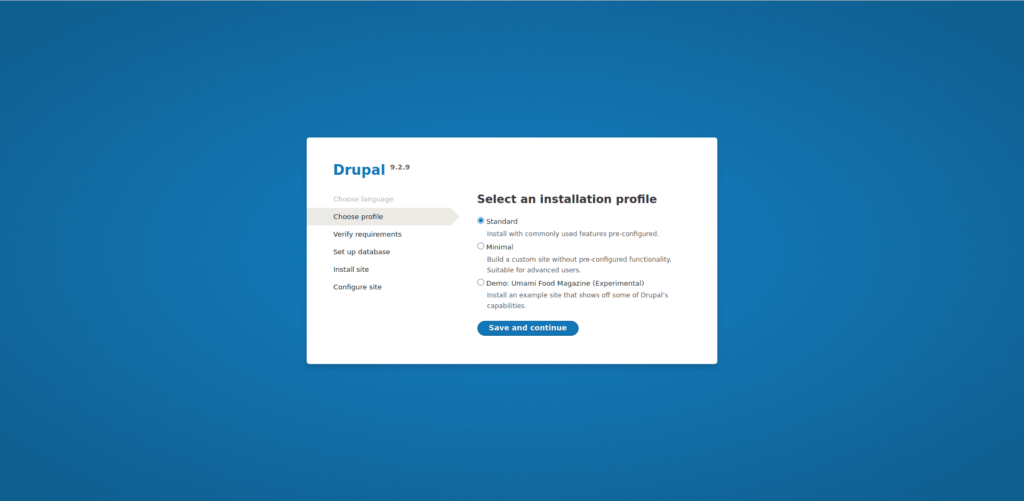
Selecione um perfil de instalação.
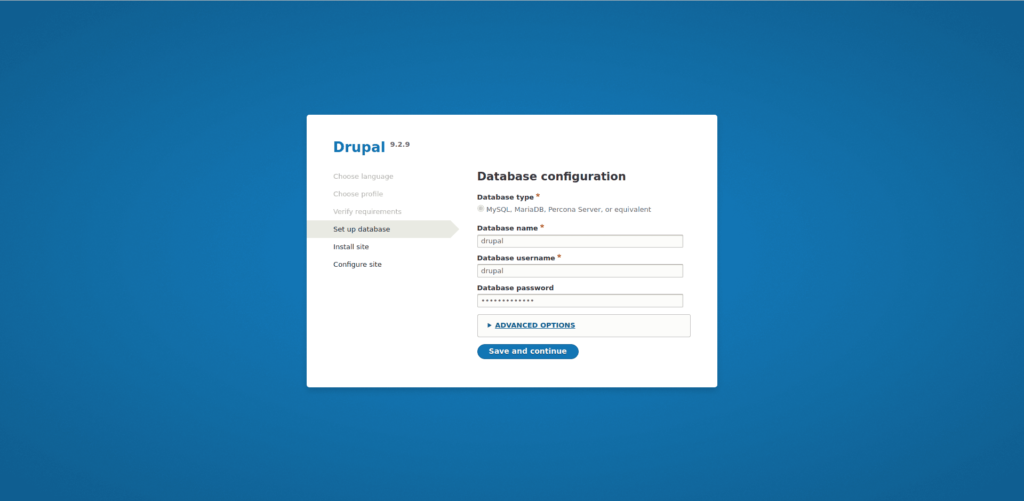
Defina a configuração do banco de dados para Drupal.
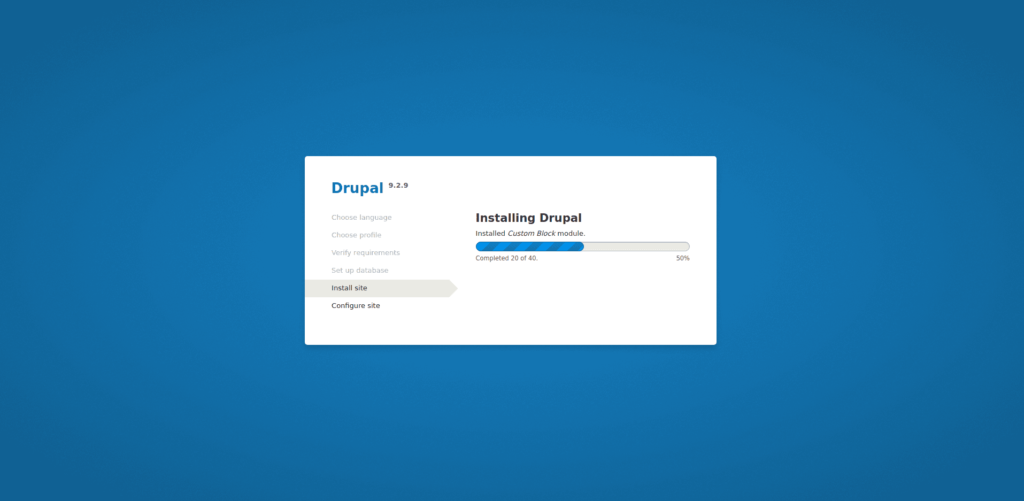
Aguarde a conclusão da instalação…
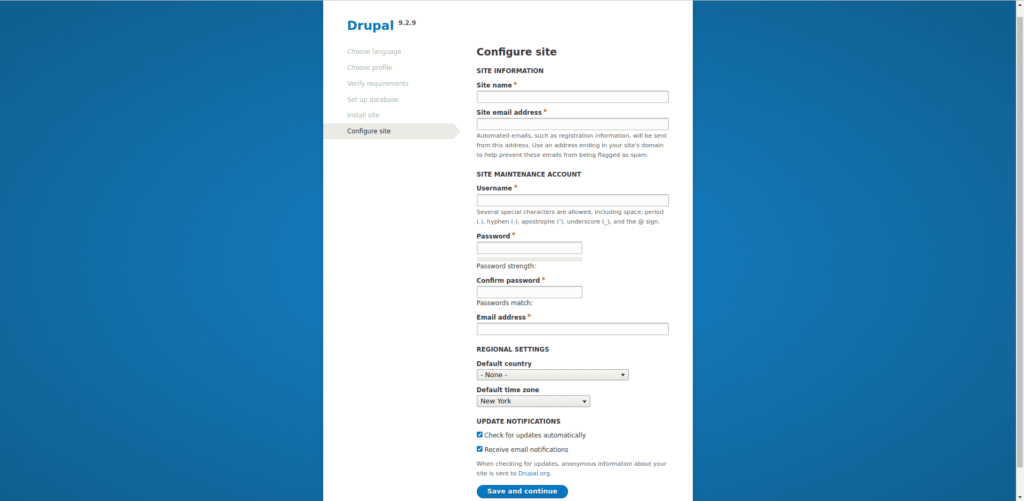
Configure seu site.
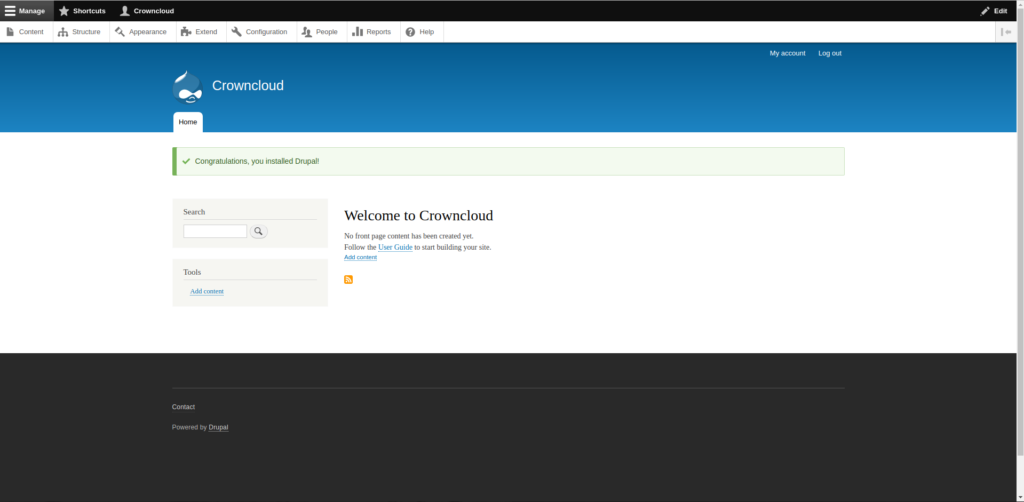
Você chegará ao painel do Drupal.
Wow! Parabéns você instalou o Drupal com êxito!
Espero ter ajudado, deixe um comentário me contando qual o seu propósito com o Drupal.

